Eat Well Travel More

Cooking real foods and traveling the world


Leave a comment

Individual Apple Crumble

Individual Apple Crumble(s)

I’ve been very behind in getting blog posts out. I feel like I haven’t been home much and have been playing catch up with work and things around the house. I can’t wait to share with you why haven’t been home! In the last couple months we’ve traveled to Tokyo, Thailand, Aspen, Beaver Creek/Vail and as I’m writing this we are on our way to West Palm Beach, Florida for a last minute trip. As soon as I get caught up I promise to post about these incredible trips.

Ok, so onto the apple crumble! This recipe is so quick and easy it has quickly become a go to last minute dessert for us. You can also easily make changes and substitutions to this. For example I have subbed pears for the apple and I’ve been thinking blueberries would be great when they are in season. Since there are only 2 of us these are a great small dessert, however you can easily double or triple the recipe for more.

apple crumble5

Individual Apple Crumble(s)

Ingredients:
2 apples, cored and diced into 1 inch cubes
Squeeze of ½ a lemon
2 TBS coconut sugar
2 TBS spelt or whole wheat flour
2 TBS unsalted butter, cold
2 TBS 100% pure maple syrup
2 TBS chopped walnuts
1 tsp cinnamon, divided
Pinch of nutmeg
Fresh whipped cream (optional but I highly recommend!)

Preheat your oven to 350 degrees.

In a bowl mix together the cut apples, lemon juice, coconut sugar & ½ tsp of the cinnamon. Divide mixture between two ramekins and set aside.

In a mixing bowl combine flour, butter, other ½ tsp of cinnamon & nutmeg. Cut butter in until well incorporated and forms small balls (sometimes mixing with your hands can help with this). Stir in maple syrup and walnuts. Mixture should be crumbly.

Evenly divide crumble mixture on top of the apples in ramekins.

Bake for 20-25 mins or until lightly browned and apples are tender.

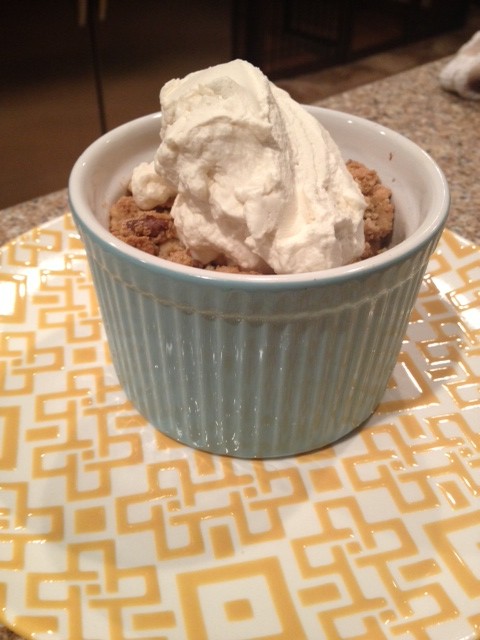
To serve, top with fresh whipped cream.

What the crumble will look like when mixed

What the crumble will look like when mixed

Cooked & ready for the whipped cream!

Cooked & ready for the whipped cream!


2 Comments

We don’t carve pumpkins… we eat them!

All things Pumpkin!


Being that its fall I wanted to kick off my recipes with one of my favorite fall staples… pumpkin.  Over the last few years I’ve been trying to cut out canned goods.  Most cans have a lining that has BPA in it contaminating the food inside.  BPA free cans do exist but the goods are pricey and the cans still have chemicals in them. Canned pumpkin seemed like something I could easily figure out how make on my own and it was!  So to start here is how to roast a pumpkin.

Roasting a Pumpkin

Ingredients/tools:

1 small pumpkin pie pumpkin

Aluminum foil

Medium size cookie sheet


Directions:

  1. Preheat your oven to 400 degrees.
  2. Remove the stem from the pumpkin using a butter knife

You need to pry a bit sometimes.

What it will look like with the stem removed

  1. Slice the pumpkin in half & remove the seeds.  (I like to save the seeds for roasting)
  2. Line a cookie sheet with aluminum foil. (You can skip this step but I found the clean up was a breeze with the foil)
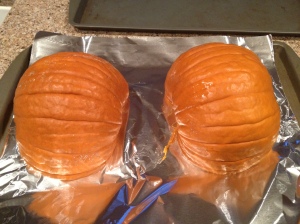
  3. Place each half of the pumpkin cut side down on the foil and bake for an hour or until tender.

Ready to go in the oven

Fully cooked

Fully cooked and ready to scoop out!

  1. Let cool then scoop out the filling, discarding the skins.
  2. You can mash up your filling or if you want a smoother texture use a food processor/blender to puree it.
  3. I make large quantities at a time and then package them in 15 oz sizes to freeze.  Then when I want to make a pumpkin recipe I already have it on hand and measured out to the equivalent of 1 can.

Need some ideas on how to use your new pumpkin puree?  Try a pumpkin smoothie or pumpkin bread!